From looking
at the intros for ‘The Only Way is Essex’, I used the software’s Cinema 4D and
Adobe After Effects to create a parody title into.
Sunday, 31 March 2013
Saturday, 30 March 2013
Group Crit
Below is some
of the feedback I had from my group crit:
- Edit script, make them bitchier and mean
- Have a climax at the end. ( have them being hypocritical, eating donuts.)

The Only Way Is Birmingham
In
the summer of 2012, there was a lot of advertisement and hype about a Brummie
version of reality show the Only Way is Essex that was due out soon. Billboards
and buses were plastered with posters and trailers were made viral. Many people
from Birmingham (The Only Way Is Essex fans) got excited about this new series
being based in their home town.
However,
the “show” was a nothing more than a stunt to mark the founding of a new
super-college in Birmingham.

Below
is a link to the trailer:
http://www.youtube.com/watch?v=8QPjYADVx8Y
The
Only Way is Birmingham hoax, The Birmingham Mail, Website,
Veiwed 30/03/2013.(http://www.birminghammail.co.uk/news/local-news/the-only-way-is-birmingham-is-a-hoax-college-189714)
Thursday, 28 March 2013


Sunday, 24 March 2013
Final Puppets
As the
process of making the finalized prototype was going really well and the puppets
looked well-made and professional I decided to use them as my final puppets.
This decision was also made as cost and time was running low.
I created the
puppets head first, while all the face of the puppet was at a good standard, I
unfortunately came across a problem with attaching the polystyrene balls to the
breast area on the Essex style puppet. They wouldn't sit right on the arm and
when I removed them, some of the polystyrene stuck onto the fleece.


As I was already
so far in the making and time and cost issues, I chose to improvise and covered
the stuck polystyrene and stitch the outline of the breasts. It didn't turn out
how I wanted and I wished I had tested it out before hand, but now I will use
this incidence as future reference.


As I had to
stitch on an extra bit of fleece to cover the mess, the stitch was on show, so I
chose to apply a bead necklace around her neck to cover it.
Kim
As I designed this puppet to only have lips and boobs to connote
how much work she had done, I could only use the YouTube instructions for creating
the mouth as a basis which then I experiment and worked until I created the
lips that I was happy with.


As I didn't have
any advice how to create the boobs, I had to just experimented using covered half’s
of a polystyrene ball and a bikini top. Fortunately,
they both worked out well.


Abigail - Continued
I also used
hair extensions for on Abi; however I rolled the strip to create a pony tail
style which I then wrapped a feather ribbon around to make a hair bobble.

As I've created character Abi as being chubby, I
created this effect by layering wadding in-between the body of the puppet and
her t-shirt, putting a few tacks to secure it place.

I chose to replace
her black eye lashes with brown to make the puppet look more natural, as from a
previous crit it was brought up that black lashes represents mascara.

Amy - Continued
I stuffed the
felt lips with wadding to make them fuller, and then hand stitched the edges to
ensure they were secure. This also defined the lips.


For the hair
of the puppet I used real hair extensions, this is so I was able to style it
how I wanted before filming. I stuck 2
strips of the extensions along the middle of the head, which created a parting.

Monday, 18 March 2013
Finalized Prototype of Amy & Abigail
I began to
make a finalized prototype using all the final materials.
The making of the head and bodies of Amy and Abigail.I carefully stuck to the instructions of the YouTube video.
(I mainly used a glue gun to attach different parts to the puppets)


Saturday, 9 March 2013
Mac Overall Feedback
I found this
experience very interesting and enjoyable, as I was able to not only just see what
a day is like for a visual arts technician at mac but connect with the public
and artists. i noticed that the technicians formed a positive relationships
with some of the public as they offer good support though their creations and
experience. i was able to see loads of different styles of work from all different
types of people, and I was a pleases to get the chance to be a support.
Even though that
element of the experience was really interesting, I found the general tasks of
a technician very repetitive and could
become boring if done more than a couple of days, this is why the staff at the
mac work shifts. After completing this work placement I was not as inspired as
what I thought I would have been. But I am very pleased
with the experience and what I have learnt, like how to complete the different tasks
of a visual technician and how to use different equipment e.g. kiln, and knowing
when it’s done correctly.
Day at Mac
I began work at 9am
and was introduced to Graham Handley, whom I will be shadowing for the day.
After I signed in and had a quick tour around all the studios, I had to check
what classes was on for that day and had to set up some of the studios ready
for the 10am workshops (pottery, textiles and jewellery), ensuring all the
equipment needed was out and available for the visitors.
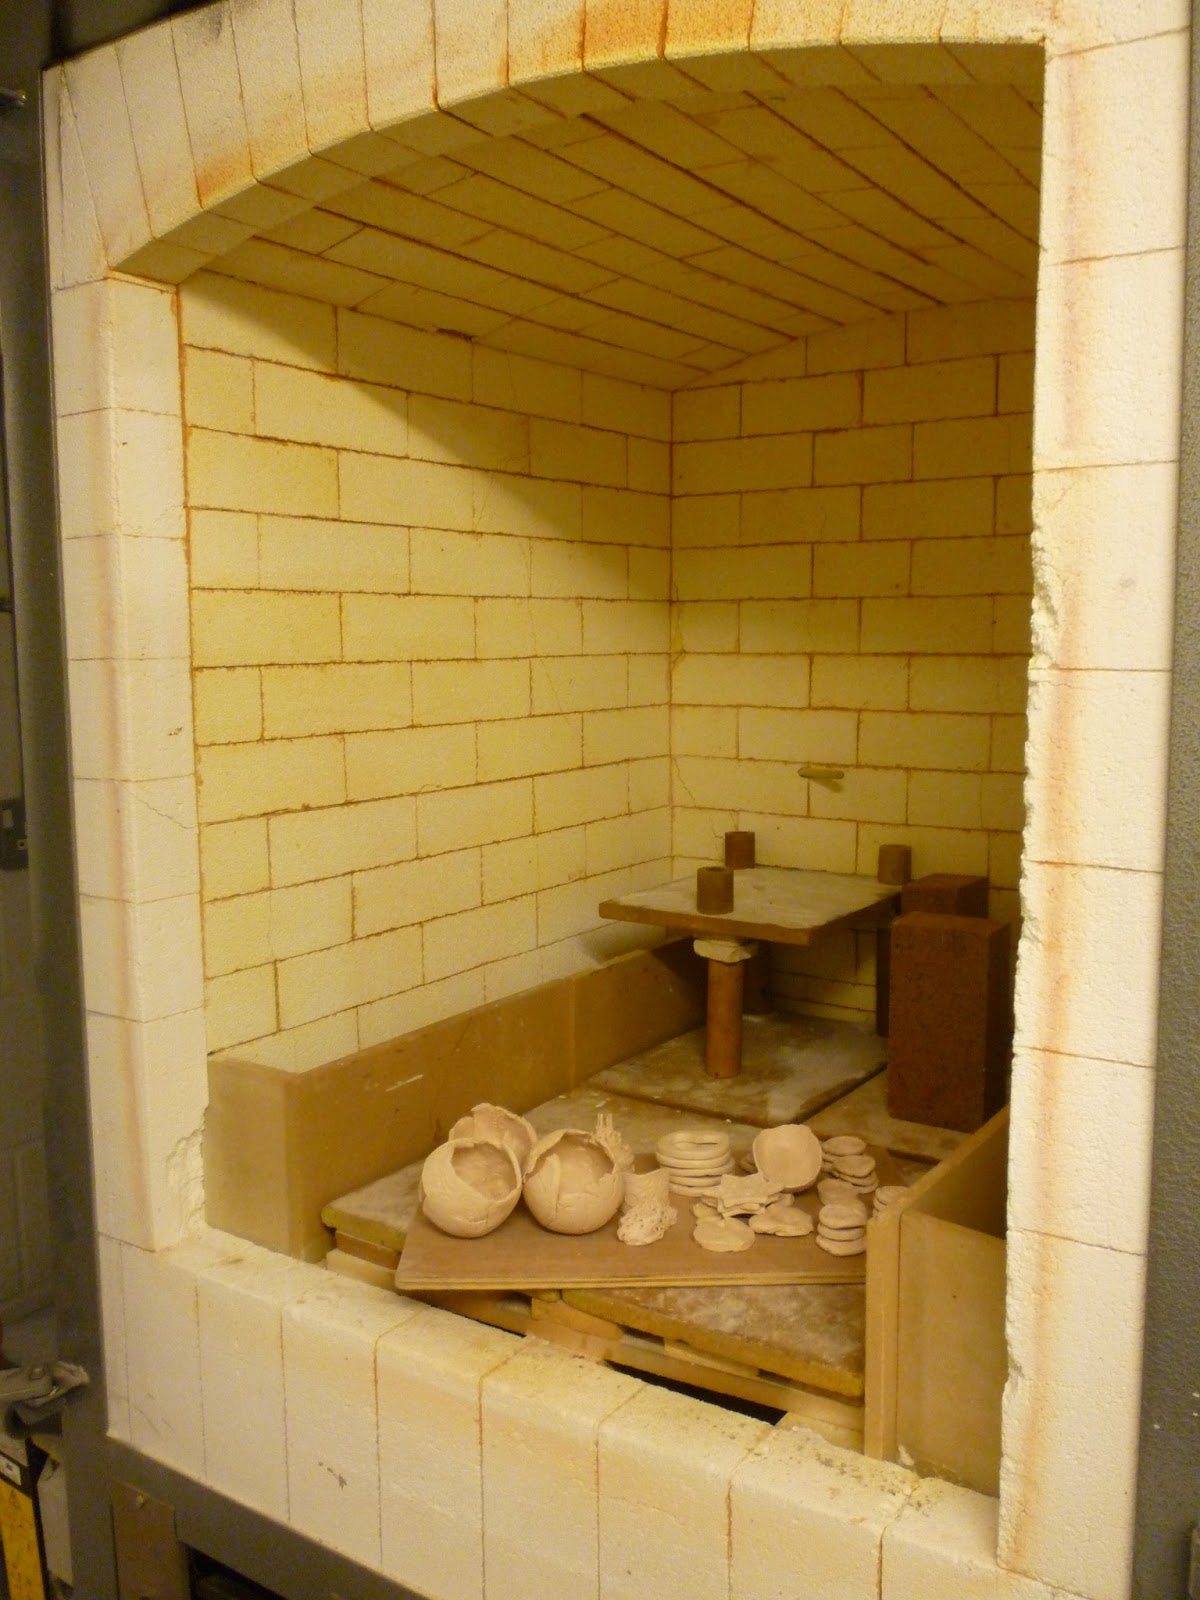
After all the
classes were set up and the leader had all the equipment required, i went down
to the kilns which had been firing pottery the night before and was ready to be
emptied. This process took a couple an hours, as a lot of the pieces where very
delicate and it is the technician’s reasonability to ensure the works are safe.
The pieces needed to be transferred to the storing shelves within the pottery
room, this was happening while a class was taking place. I was able to get the
chance to talk to the leader and visitors about their connection with mac.
(When chatting to
the leader of pottery, I found out she was a student at BIAD and completed the
same foundation course as me)


During this time,
we received calls for errands from other workshops, fetching equipment e.g.
clay, We had to change the acid wash within the jewellery workshop, for health
and safety reasons I just has to observe the technicians do it.
By this time it was
afternoon, and I had to set up the studios for the afternoon classes (textiles,
jewellery and life drawing).


The afternoon was
very similar to the morning, however, as the kilns where emptied, the awaiting
pottery to be fired needed to be structurally stacked into the kilns. Filling
them was a lot more time consuming and difficult as you have to ensure the pieces on the same level are all about
the same size and there is space between all the pottery but trying to put as
much in at the same time.
(we had to ensure
the shelves where clean, any clay or glaze that had stuck had to be removed
before use)


(This is a tool
used to check if the kiln has finished its firing process, as each spike softens
at different temperatures)

After all the
workshops ended and was about 2 hours before i finished, i had to clean all the
studios that had been used and get them ready for classes the following
morning, to reduce the amount of work the next day.


Mac
8 hour day -
9am-5pm
Wednesday 6th March
Mac first opened in
1962 and is located in cannon Hill Park. Mac is Birmingham's pioneering arts
complex for everyone. It is a national leader in developing work with children,
families and young people of all backgrounds.
Mac offers a busy
programme of theatre, dance, independent cinema, exhibitions and special
events, as well as a wealth of practical classes in all aspects of creativity,
from playing musical instruments to ceramics and jewellery-making.


Tuesday, 5 March 2013
Meeting with Baverstock
Within the meeting
we discussed:
•
How many hours the
work placement was for
•
Dates of the work
placement
•
Health and safety
•
Rules and
regulations (signed forms)
•
What areas I wanted
to work in
•
What I wanted to
achieve from this experience
I was able to get 6
days (6 hour days), working mainly in the art and photography department, with
a couple of lessons in graphics.
Starting on 25th march for 3 day, and then 3 days starting on
15th April (after the easter holiday).
Subscribe to:
Comments (Atom)